THE BUDGIE HOUSE
THE UPPER NEST
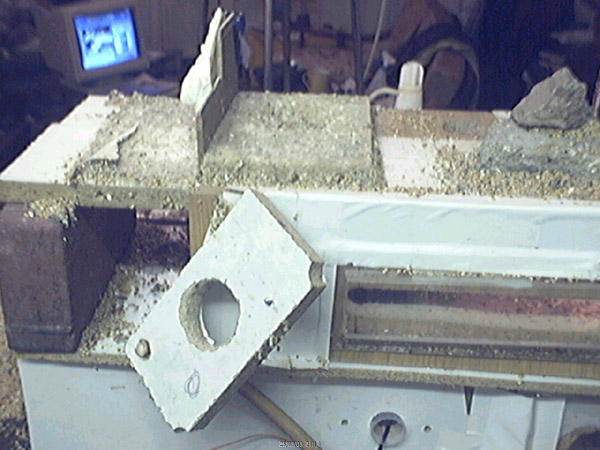
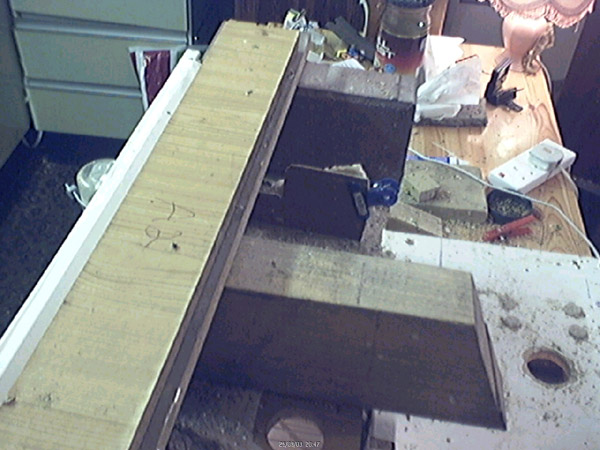
This nest comprises the two upper floors of the Budgie House with a nursery compartment on both floors - the choice is left to the birds. The upper floors are constructed on the back roof panel and are one paving brick wide. Four more paving bricks are needed and are laid out as in the images.
THE FIRST FLOOR
This floor had two compartments originally - viewed from the rear:
THE HALL
(On the right)
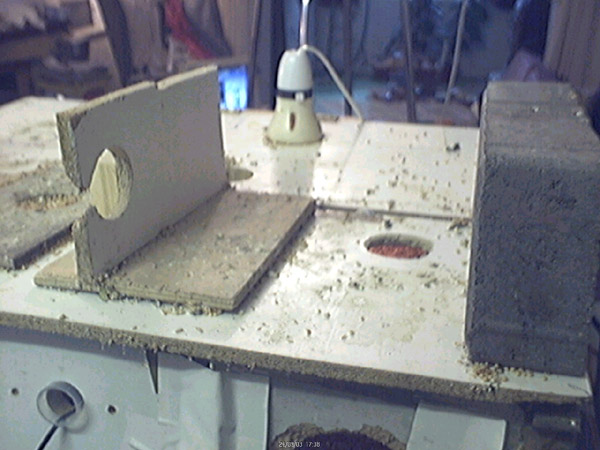
THE NURSERY
(On the left)
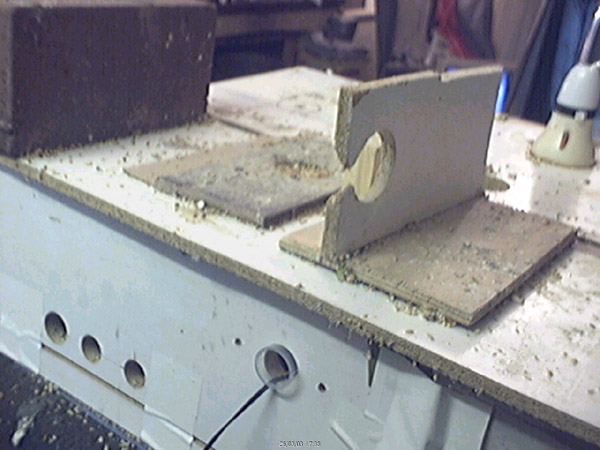
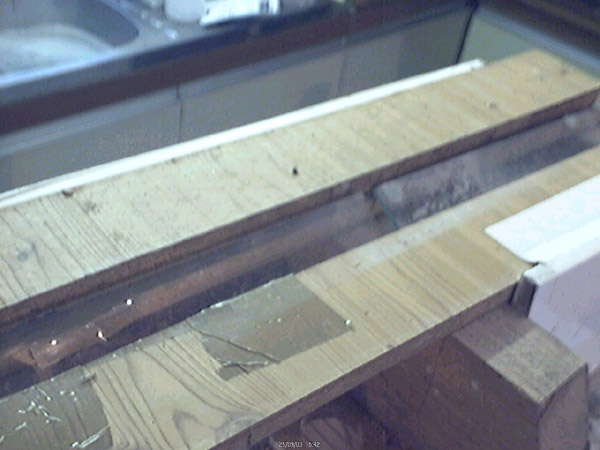
A further partition was included to create a passage to an extension which was built to the side of the house. This partition can be used to create a space for the chicks when they are old enough and requires modification. This made three compartments: The HALL at the far end, The PASSAGE at the near end. The NURSERY in the centre.
THE PASSAGE PARTITION
Viewed from rear
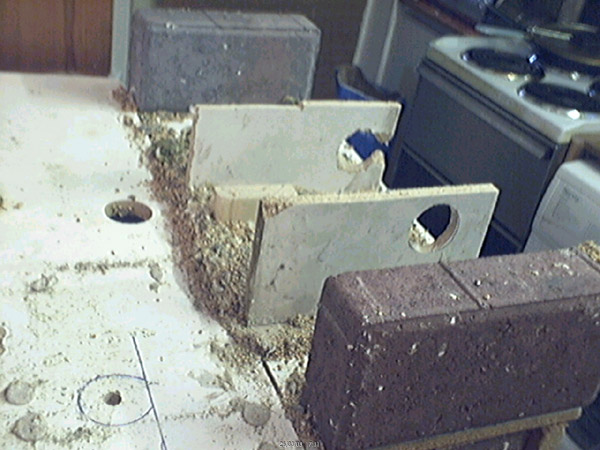
The roof consists of two separate pieces of chipboard laid across the bricks.
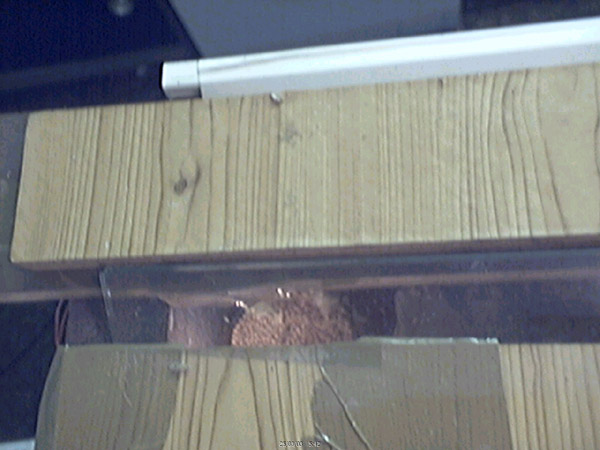
MIDDLE FLOOR ROOF
FRONT VIEW
REAR VIEW OF NURSERY
passage partition (on left) - hall partition on right.
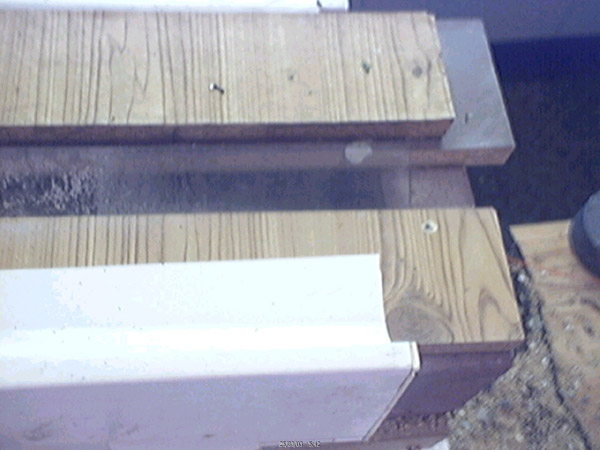
HALL PARTITION
(Below)
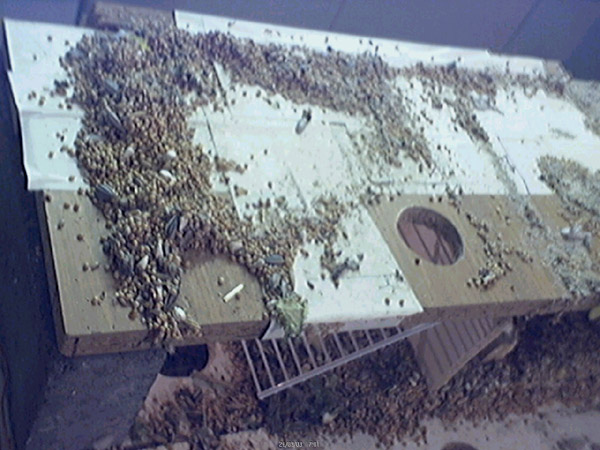
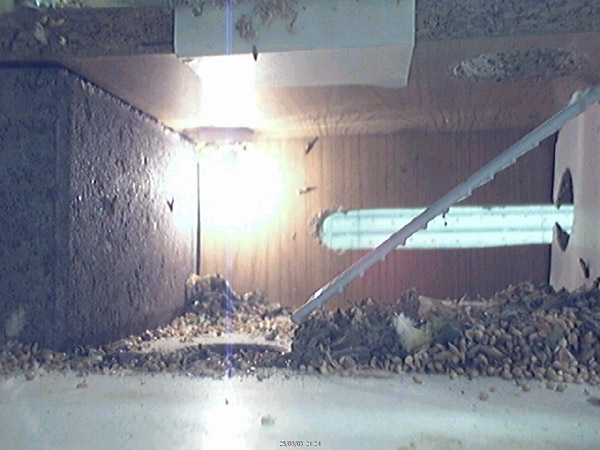
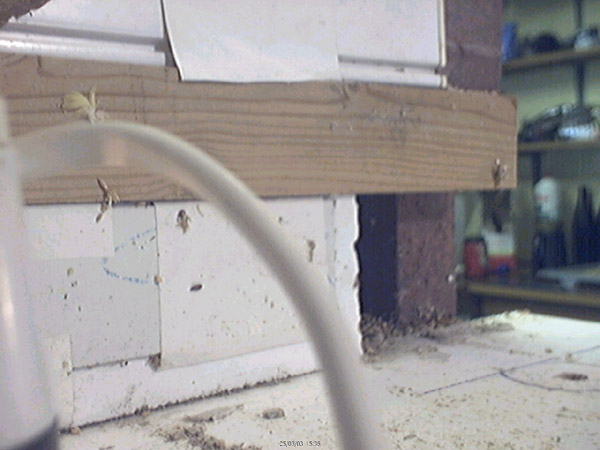
The ladder to the top floor is fixed to the underside of the front roof panel using tacks. The top of the partition is filed down a fraction on the left to make room for the ladder.
HALL
(From rear)
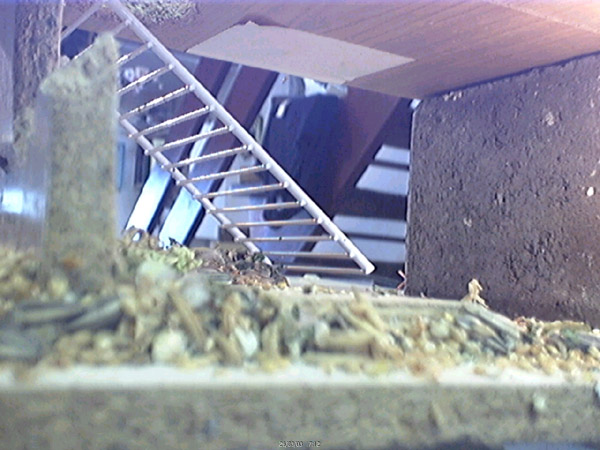
The position of the ladder with respect to the two access holes which are 38mm in diameter is fairly critical.
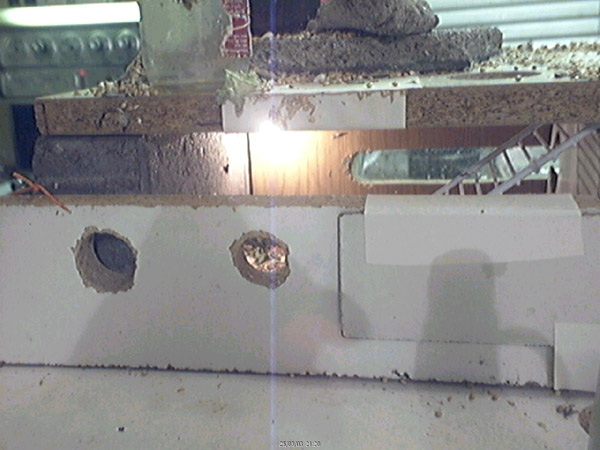
ACCESS TO LOWER FLOOR
This hole to the OBSERVATION NEST is not required unless a hallway is constructed in the observation nest. (Described below).
HALL
(Access to the top floor)

38mm diameter hole
The ladder was made from a grill scrapped from the back of a chest freezer and can be substituted by a wooden block fitted with dowelling.
Once this stage is complete, the front and back panels can be fabricated and fitted.
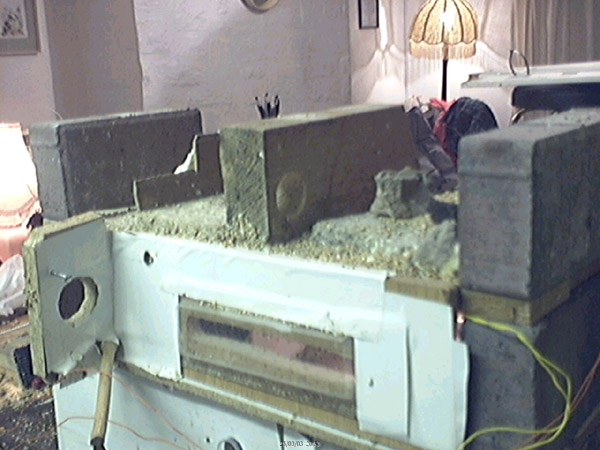
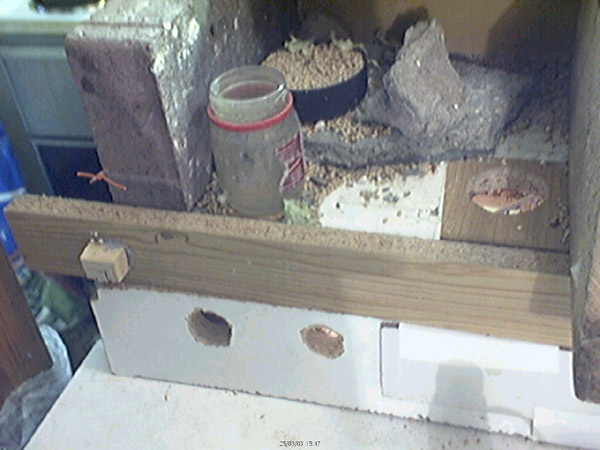
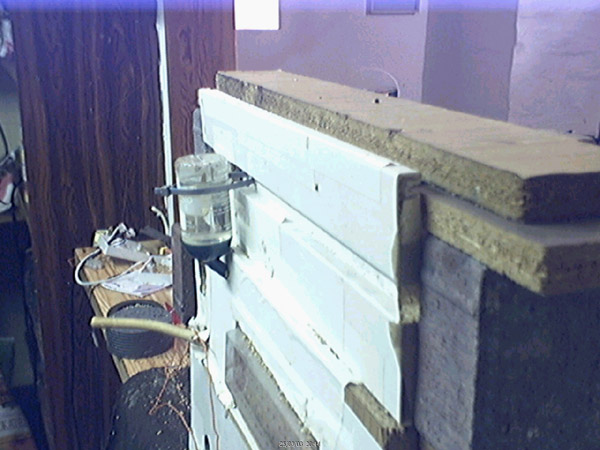
BACK PANEL (on top)
This is made in two parts - A long main board which covers the two right-hand sections and a small swing-out door piece with a perch for the entrance. These pieces are joined together with adhesive tape and fixed to the roof with adhesive tape. The main panel has an elongated window in it covered by a dotted piece of plastic.
BACK PANEL (fitted)
(Below)
The black wire leading into the OBSERVATION nest is for a thermometer probe. It is held in place by a small plastic medicine container and can be dispensed with if not used in hospital mode.
The door piece is secured by means of a screw driven into the edge of the back roof panel.
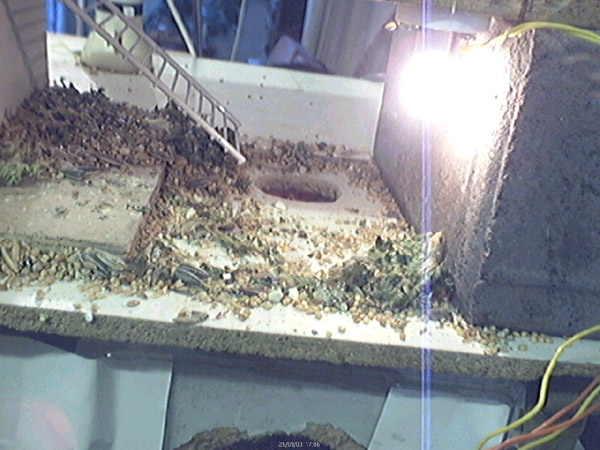
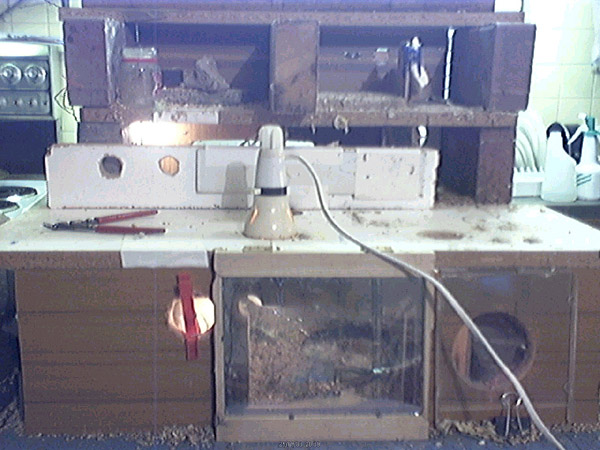
FRONT VIEW (with 15Watt lamp for observation nest)

THE HALL LAMP
This is a 100mA 12 Volt M.E.S. bulb fitted in a holder on the ceiling in the far corner. It is wired to an automatic dimming circuit. This lamp can be on permanently. A similar lamp is fitted in the service compartment of the upper floor. The two holes in the roof of the OBSERVATION NEST are not required.
FRONT WALL
This wall was made from two separate strips.
THE LOWER FRONT WALL STRIP
The holes which should be 12mm in diameter allow the occupants to monitor the aviary. One hole is blanked off: This panel originally covered all three compartments but was later shifted to the left to give access to an extension built later. The right brick was also displaced to the rear for the same purpose. These panels can be replaced by a single panel covering the whole of the nest.
BOTH STRIPS FITTED
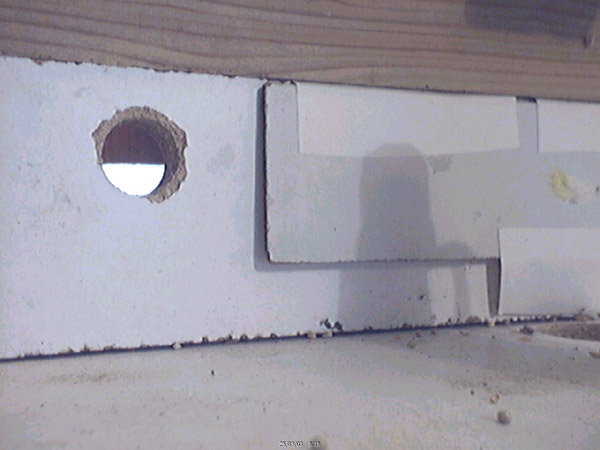
Gap on the right was created for access to extension.
THE TOP FLOOR
After this floor is finished work can begin on the top floor. The same principles are used in its construction: Two paving bricks are placed above the existing ones and roof panels laid on top.
There are two compartments - a nursery to the left with chicks' retreat and a service compartment to the right. These compartments are separated by an entrance block (2 inches thick approx) with a 38mm hole drilled in it. This forms a very defendable entrance.
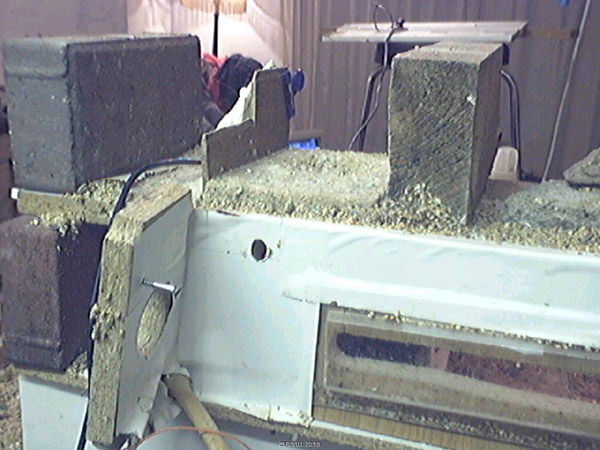
Note the position of the brick on the middle floor - This should be directly below the top brick. The hole at the top of the main panel is for a mini water feeder. It is held in place by means of a cable tie threaded through the upper panel.
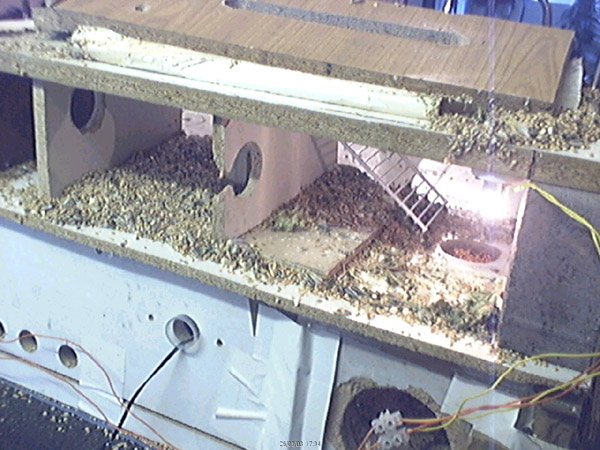
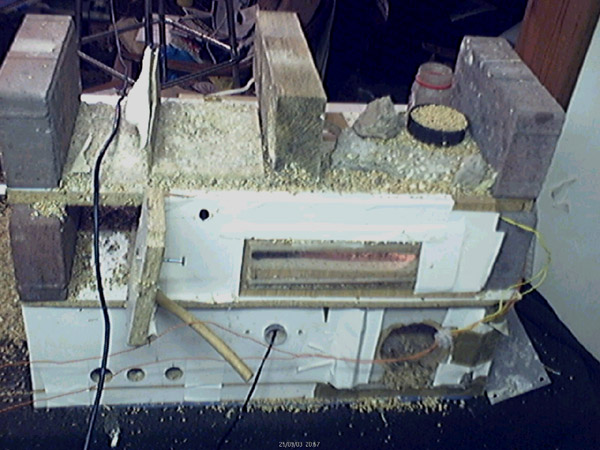
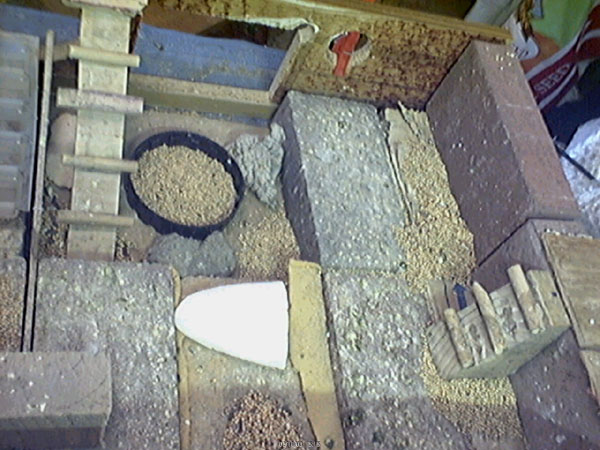
VIEW FROM THE TOP AND FRONT
TOP FLOOR
(Service compartment)
REAR VIEW
CUTTLE FISH BONE clips on to partition in nursery.
SERVICE COMPARTMENT
(From rear)
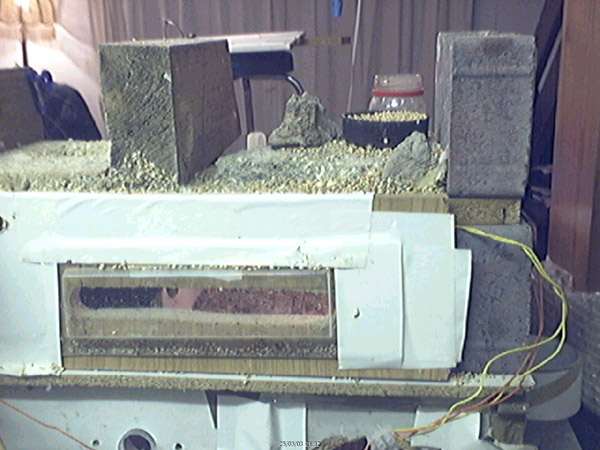
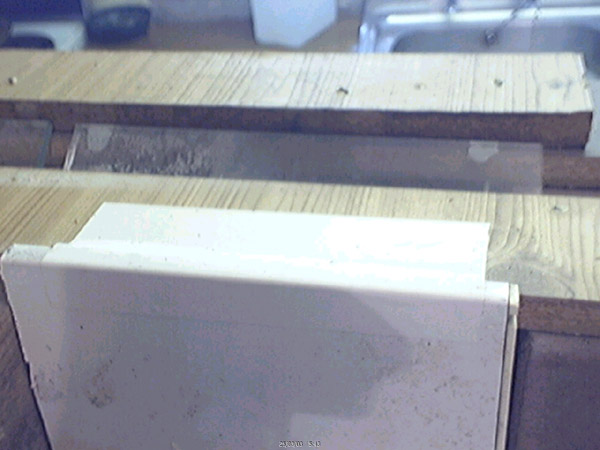
THE ROOF
Four planks of wood form the roof to the top floor. These are in two pairs - one above the other. They are separated by a one and a half inch gap to allow light in. The gap is covered by two sheets of glass set at an angle.
SERVICE END
NURSERY END
Blobs of “Multi-purpose tack” on the bricks take stresses off the glass.
TOP FLOOR (Service compartment)
ROOF WINDOW
The back wall and front of the nursery compartment are cut from sheets of plastic hollow cladding taped to the lower roof strips.
FRONT PANEL
OF NURSERY COMPARTMENT
BACK PANEL
Access to the SERVICE COMPARTMENT is through a “picture frame” window and is fixed to the top of the front - upper roof strip with hinges.

A heavy weight held the assembly in place. (Not shown). The lamps must be wired by someone with knowledge and experience of ELECTRICS.
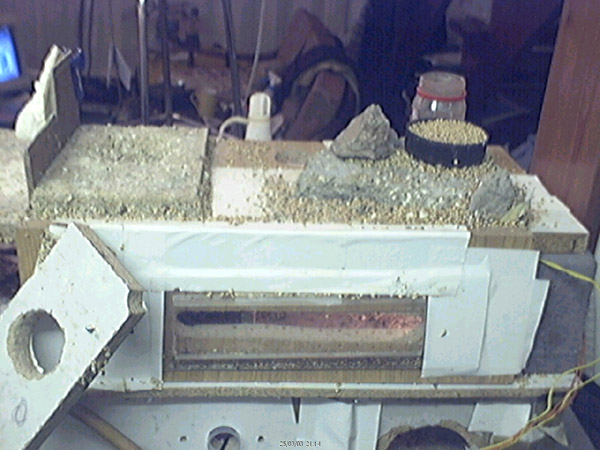
COMPLETED HOUSE
(with front panels removed.)
OPERATION:
The house should be installed near a window in the KEEPERS QUARTERS:
It’s best to give a hen which has already used the lower nest the opportunity to lay in the UPPER NEST. A pair unfamiliar with the HOUSE will highly likely need to be trained to find the entrance which will be more difficult with it being at the rear. Tying a line from a point near the entrance to a nearby twig should help in this matter. Build the nest during a resting phase and when complete after making the safety checks re-introduce the birds to the room. The hen will undoubtedly make a bee-line for the house and after a while venture upstairs to investigate the upper floors. Her mate will probably join her. She will want to know if the compartments are vacant and if so are they suitable for rearing young. It is highly likely that after checking the whole house she will choose to lay in the TOP NURSERY. The reason is probably a combination of seclusion and security. After completing her survey she will more that likely leave by the rear entrance. During the preparation stage the birds will probably adopt this pattern of entering the house by the OBSERVATION NEST and leaving at the rear. Allow this pattern for a week then block the lower nest front entrance. This experience will considerably help the birds to find the rear entrance if they haven’t done so already and reduce any training time. The floor hole can then be blocked. (Completely seal with a piece of wood). This also applies if the birds adopt their original nest on the lower floor. This design is intended for two breeding pairs only.
FLAWS and IMPROVEMENTS:
1. The bed and chicks' retreat in the top nursery need to be reversed with the chicks' retreat at a higher level.
2. With the entrance block flush with the front face the front panel could be made from a single piece which would simplify the construction and improve stability. The two panels could then be clamped together using threaded rods.
3.The illumination of the middle nursery is low and would be improved by constructing a longer window but not as far as the new chicks’ retreat. (Described below).
4.Using harder wood such as pine instead of chipboard for the partitions should prevent them from being gnawed through.
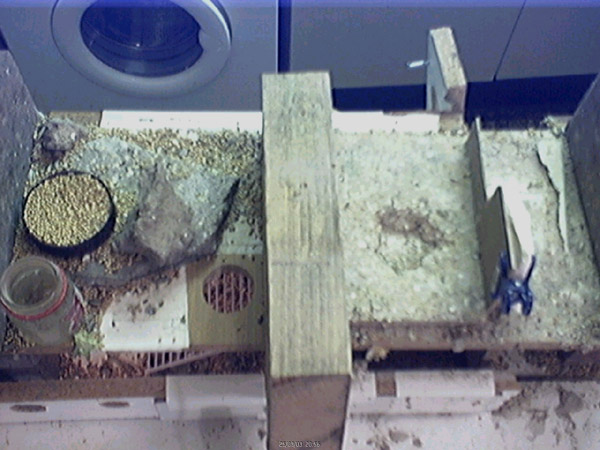
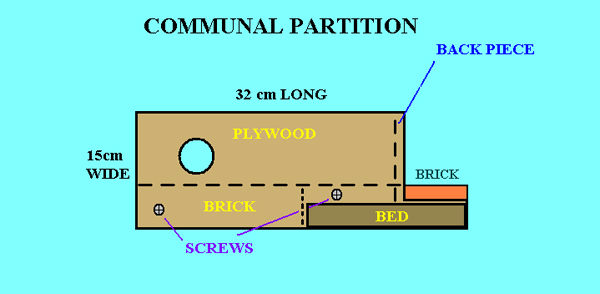
5. FIT A PARTITION ON THE GROUND FLOOR.
This would create a hallway to both nests. The birds would share a single entrance and return to their respective nests. The rear entrance on the middle floor would then not need to be fitted. This floor would still be part of the UPPER NEST and should remain so. However if a hen takes this floor causing no problems then its better to leave things be. A special watch is needed in the initial stages as this arrangement is unfamiliar to the birds but it shouldn’t take them long to realize they have their own nest. The partition in yellow can be screwed into the side of the horizontal bricks and should reach to the ceiling.
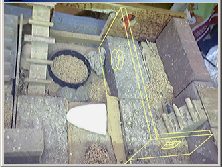
COMMUNAL ENTRANCE PLAN

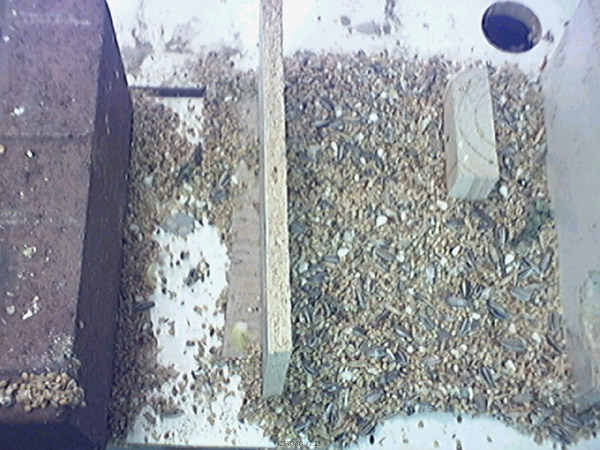
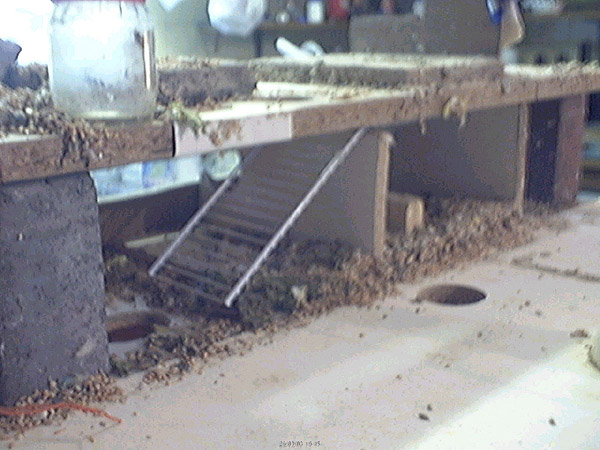
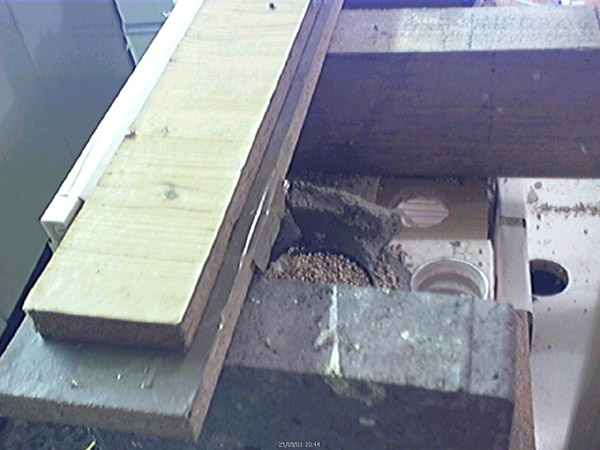
The stair to the upper nest is made from a wooden wedge shaped block with three short pieces of dowelling glued to it. It is simply “Blue-tacked” to the brick with the roof panel holding it in place. This is achieved by cutting it slightly short and putting small strips of cardboard on top. The long ladder is not part of this design.
STAIR BLOCK TO THE UPPER NEST
COMMUNAL ENTRANCE DETAIL
An optional plastic covered window can be provided on the short side to allow the occupants to see the comings and goings to the UPPER NEST. This provision can enhance the development of the chicks due to added input but needs to be assessed in case it causes too much distraction for the brooding hen. Situate it high up otherwise the chicks may not leave the bed. A step may need to be fitted below the entrance in the observation nest.
FIT A LARGE WINDOW IN THE HALL:
A time may come when the sitting hen will need to protect her nest from a contesting hen in the hall on the MIDDLE FLOOR. This situation needs to be closely monitored. The front wall needs to be a single piece and a spotted window fitted about five centimetres square.
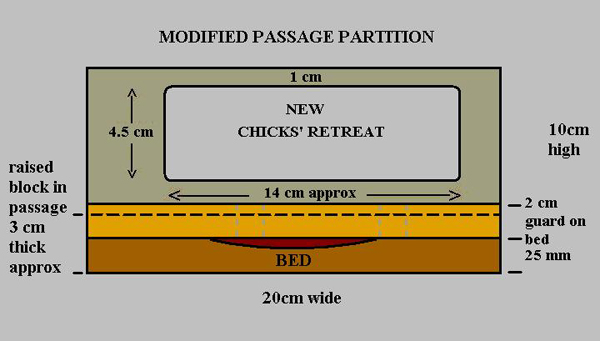
THE MODIFIED PASSAGE PARTITION (middle floor)
This partition needs modifying to create an extra retreat for the chicks when they get older. This replaces the block which created a primitive retreat in the existing design. The existing hole is not cut and a square is cut out instead. A thick block is inserted in the passage to form a raised platform to allow easy return. Still include the original block but extend it from wall to wall to completely enclose the bed. This will create a small strip which can be divided into sections to give the younger chicks their own spaces. The bed should be to the left of this to benefit from the available light. This is not likely to work with a rear entrance.
SIDE VIEW
PLAN VIEW

These modifications haven’t been tried and need assessing.
Extra illumination in the form of spot lamps should be provided to give sufficient light to the nursery compartments during rearing. These should be wired to a timer and conform to the light table and begin a week after the first chick hatches.
HISTORY:
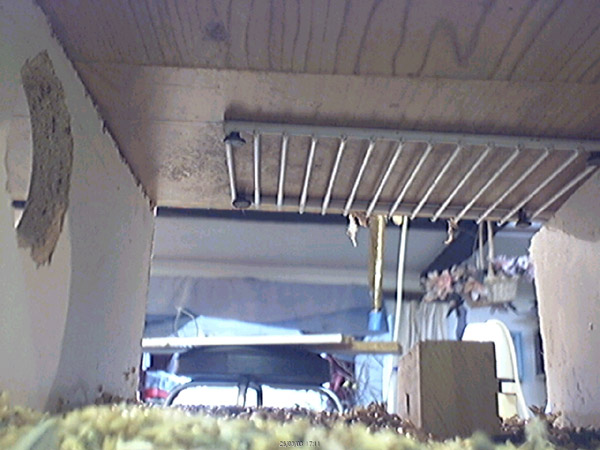
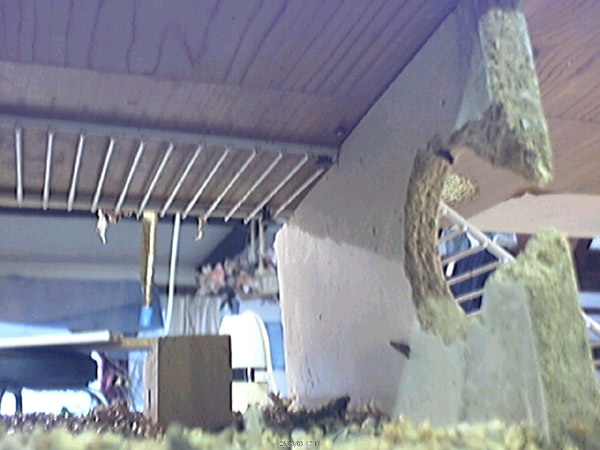
When the middle floor was built a long ladder was placed at the back of the OBSERVATION NEST to allow the older chicks access to this area which was intended to be a play room. The hen would then have more time and space to devote to her younger chicks. This indeed is what happened but unfortunately having climbed up to this area the chicks couldn’t climb down again. Although the parents went up regularly to feed them it was considered too risky as there was no guarantee this would happen in all cases and the idea was abandoned. As the space was small with difficult access I built a nest above and dedicated this space to it. One hen was re-nested to this floor without her mate and reared a single chick. She was not very fertile and incubated a blank clutch in the top nursery previously. She and her mate found no problem negotiating the house but as with all birds they initially had difficulty climbing down.
ENTRANCE HOLES: These are best cut such that the lower part is about 5 cm above the floor: i.e. For a 4cm diameter hole centre it at 7cm above the floor.
AUTO LAMPS:
The dimming of the 12 Volt lamps can give the birds an idea of the time. A mains relay is connected to a timer and is set to operate from 8:00 to 20:00 hours. The two house lamps are connected in parallel and then in series with another 12 Volt lamp which is mounted externally. The relay shorts this lamp out during the day thereby operating the hall lamps at full power.
********************************************************************************
WARNING! I strongly recommend the budgie house to be made accessible to two well bonded pairs at maximum. This nesting facility has never been made accessible to a flock of budgies in a remote aviary. The HALL and SERVICE COMPARTMENT and COMMUNAL ENTRANCE are confined spaces and can be dangerous. A contesting hen will not be able to flee if attacked by the sitting hen. Embark on this project ONLY if you have the time and dedication to monitor the birds and their progress. It is strongly recommended also to monitor the audio as the sound of squawking will alert you to any problems.
THE LIGHT TABLE
ON OFF
09:00 09:15
10:00 10:15
11:00 11:15
12:00 12:15
13:00 13:15
BREAK
15:00 15:15
16:00 16:15
17:00 17:15
18:00 18:15